Using a Microscope Lab
PI = Partner’s Initials TI = Teacher’s Initials
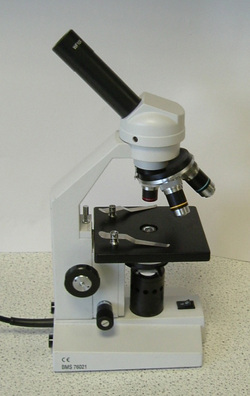
Part A: Anatomy
PI Name and point out ALL the parts of the microscope to your partner.
Part B: Setting Up
PI 1. Clean lenses and turn on the microscope
PI 2. Turn the nosepiece until the scanning power lens clicks into place over the aperture.
PI 3. Look through the eyepiece keeping both eyes open if possible. Turn the diaphragmand write what you observe.
PI 4. Look at the microscope from the side
a. Slowly turn the coarse adjustment knob away from you – towards the stage. Which way does the stage move? Circle one: (up or down)
b. Turn the coarse adjustment knob towards you. Which way does the stage move? Circle one: (up or down)
(your name) Knows how to work the coarse adjustment knob and turn the diaphragm.
Signed by (partner’s name)
TI
Part C: Focusing
PI 1. Get a microfilm from your tray (oldest partner uses the microfilm with the heart on it, youngest partners use the microfilm with the ST on it). Record the symbol (heart or ST) here
PI 2. Set up the microscope with the scanning power objective in place. Lower the stage all the way down.
PI 3. Place the microfilm on a slide, and place the slide on the stage with the object centered over the aperture. You do not need to use the stage clips.
PI 4. Look through the eyepiece and slowly turn the coarse adjustment knob until the object comes into focus. Move the microfilm so that the object is in the exact center of your field of view.
PI 5. Use the fine adjustment knob to bring the object into sharp focus. Accurately draw what you see in this circle.
Power of magnification: X
PI 6. Switch to low power objective. Look through the eyepiece and move the microfilm away from you. How does the object appear to move? Circle one: (up or down)
PI 7. Move the microfilm to the right. How does the object appear to move?
Circle one: (up or down)
PI 8. Return the object to the center of your field of view and refocus. Switch to the high power objective.
Draw what you see in this circle:
Power of magnification: X
(your name) knows how to focus and switch from low power to high power.
Signed by (partner’s name)
Photo used under Creative Commons from tuchodi
